- Copy these files from the webpage. Check the
version numbers.
MTELPage.exe V4.0
(398)
picocell pstn
data.mdb
special pstn
local.mdb
MTELQue.exe V1.0(65)
MTELquesys.mdb
MTELServe_TCP.exe V4.0 (539)
- backup the c:\pager\system directory.
- copy the new picocell pstn
data.mdb file. This file will only work with the new applications. It
is not a superset of the old file. It is a subset as some tables have been
deleted and rationalised.
This file has the
new Queue field in
Picocell Sites table. The CSErrors table has been removed. The
CSDefines has been improved. ServerID has been removed.
- Create a "Servers" directory and copy
MTELServe_TCP.exe. Then create 4 shortcuts for S01 to S04
In the shortcuts add the argument 1,2,3 or 4 for each
server shortcut. Put copies on the desktop and label them S01 TCP to S04 TCP
so the shortcuts can coexist with the old servers shortcuts.
e.g. "C:\pager\MTELserve_TCP.exe" 1
- Run up the first server and click on menu item
"Maintenance" "Force Registry" "Save Now". This will add the new fields for
connecting to the Modems and MTELQue. Stop the application. Now do the same
for the other 3 servers.
- Now edit the mtelsrv_s01.exe with Access. Note all
Registry entries are case sensitive.
MODEM_ADDRESS and
MODEM_PORT are the Modmax sockets. The Modmax
serial ports need to be 2400,8,N,1. TCPServer mode. The MTELServer is the
client in this TCP connection.
QUE_ADDRESS and
QUE_PORT are the sockets for connecting to
MTELQue. QUE ADDRESS is bound to the IP address in case there is more than 1
NIC. These are listener ports.
Registry
|
Key_Description |
Key_Data |
Key_Dialog |
Key_ListValues |
Key_Default |
|
MODEM_ADDRESS |
192.168.0.43 |
|
|
|
|
MODEM_PORT |
9001 |
|
|
|
|
QUE_ADDRESS |
192.168.0.46 |
|
|
|
|
QUE_PORT |
9101 |
|
|
|
Note the CycleTest records have been removed.
There are currently 43 records in the Registry.
Edit the other server databases.
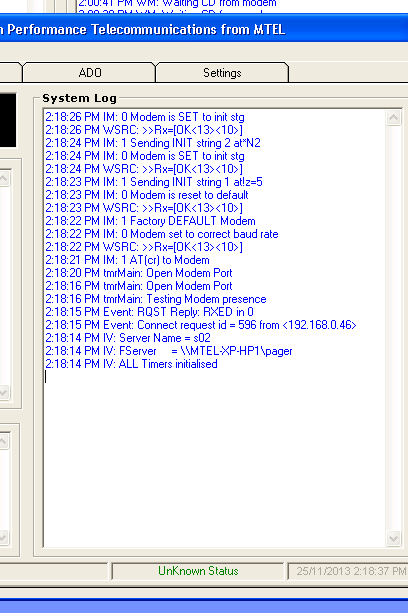
- Now restart the MTELServer's and observe the System
Log. The banners should all show different names. S01
MTELserveTCP 2013. The log should show the server trying to communicate and download the
settings to the modem.

- Create a "pager\MTELQue"
directory and copy in the MTELque directory and the MTELquesys.mdb file
- Edit the MTELPage
table in MTELQuesys.mdb for all the MTELPage
Clients required. The easiest would be C01, C02 etc. The ports selected should
obviously not conflict with any other application such as the MTELRelay.
- Edit the Outputs table. There is a entry for each
MTELServer. These are the sockets defined in MTELServe Registry table.
- Edit the StartUp table.
- Change the FServer
to "c:\pager"
- Leave LogsDIR as
"." (the current directory)
- Edit MTELPageNIC
the MTELPage sockets are bound to this address. It should be the local
IP.
- Edit the ServerID
to a name for the banner. e.g. "MTEL Queue Cairns"
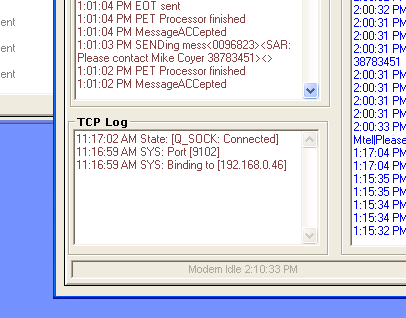
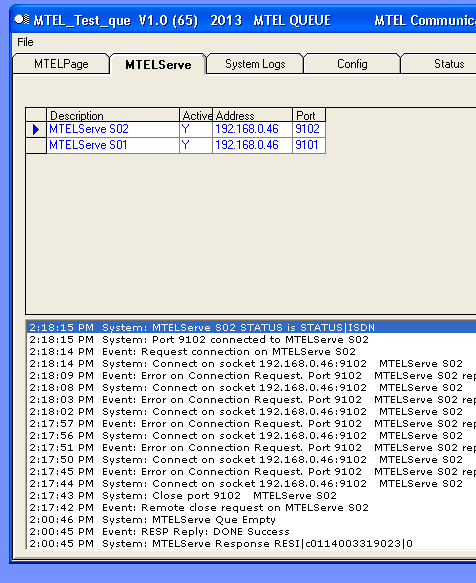
- Start up MTELQue and observe the connections in the
MTELServer's TCP Log.

On the MTELQue "MTELServe" tab the Server responses
should be visible in the log.

- Copy over the new MTELPage executable. Start the local C99
Client and perform a Force Registry. Then
shutdown the client. Open up the C:\mtelsys\mtelpagesysTCP.mdb
Access file.
- Edit the Registry table
fields QUEAddress and QUEPort.
These were assigned listeners in the MTELPage tab in MTELQue.
- Set RelayEnabled to
False.
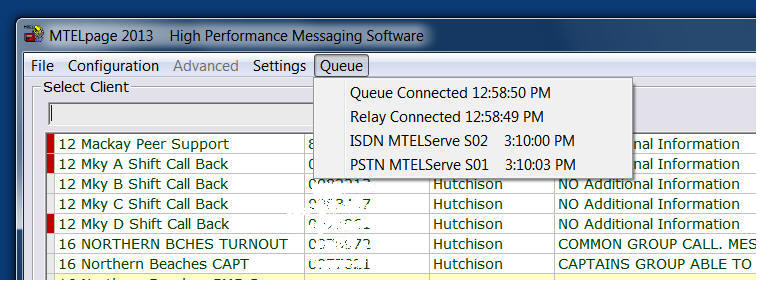
- Save the file and start MTELPage. It should look
the same. Now go to the menu and click on Queue. It will show the current
state of the Relay, Queue and MTELServes. It will take about 30 seconds to
populate correctly. This is new.

- Under Configuration in the menu is
Show Que Log and
Show Relay Log. These logs will display the messages to and from the Que,
Relay and MTELPage. These logs are also archived to text files and stored in
the usual c:\pager\logs.
The old MTELPage text logs from this directory could be cleared.
- Try now sending a message in MTELPage. If the Queue
tab is selected in MTELQue, a line is shown for each message in the Queue.
- The operation of the modems in the MTELServes will look very much the same as
previous applications.
- Note that in all applications there is a Delete
button in the Queue tabs. This is used only if the messages are stuck for an
unexplained reason. Once the applications are stable this button will be
hidden in future releases.

